Greetings! I'm Aneesh Sreedharan, CEO of 2Hats Logic Solutions. At 2Hats Logic Solutions, we are dedicated to providing technical expertise and resolving your concerns in the world of technology. Our blog page serves as a resource where we share insights and experiences, offering valuable perspectives on your queries.
For a successful mobile app, push notifications are very essential. It keeps the app live and boosts app usage and traffic. Push notifications can keep users updated and give app admin a way for send notification easily to end users and keep them updated. This article will show step by step implementation of FCM(Firebase Cloud Messaging) notifications in an Ionic mobile app.
Firebase Cloud Messaging (FCM) is a cross-platform messaging solution from google that lets us deliver messages to devices.
First of all, let’s start a new ionic app using following command. We are not going to all details of setting up the platform for this and believe you have it covered already.ionic start myApp blank
After creating app, lets add FCM plugin using following command
ionic cordova plugin add phonegap-plugin-push
npm install --save @ionic-native/push
Add the plugin to the app by adding following code to src/app/app.module.ts file
| 1 2 3 4 5 6 7 8 9 10 11 12 | import { Push } from '@ionic-native/push'; ... @NgModule({ ... providers: [ ... Push, ... ] ... }) export class AppModule { } |
We have successfully added FCM plugin to the app. Let’s start to handle the push notification events by adding the code to the root file of the app – App.component.ts
| 1 2 3 4 5 6 7 8 9 10 11 12 13 14 15 16 17 18 19 20 21 22 23 | import { Push, PushObject, PushOptions } from '@ionic-native/push'; constructor(private push: Push) { this.push.hasPermission() .then((res: any) => { if (res.isEnabled) { console.log('We have permission to send push notifications'); } else { console.log('We do not have permission to send push notifications'); } }); const options: PushOptions = { android: { senderID: 'xxxxxxxxxx' } }; const pushObject: PushObject = this.push.init(options); } |
We have to create a sender ID from firebase console using following steps.
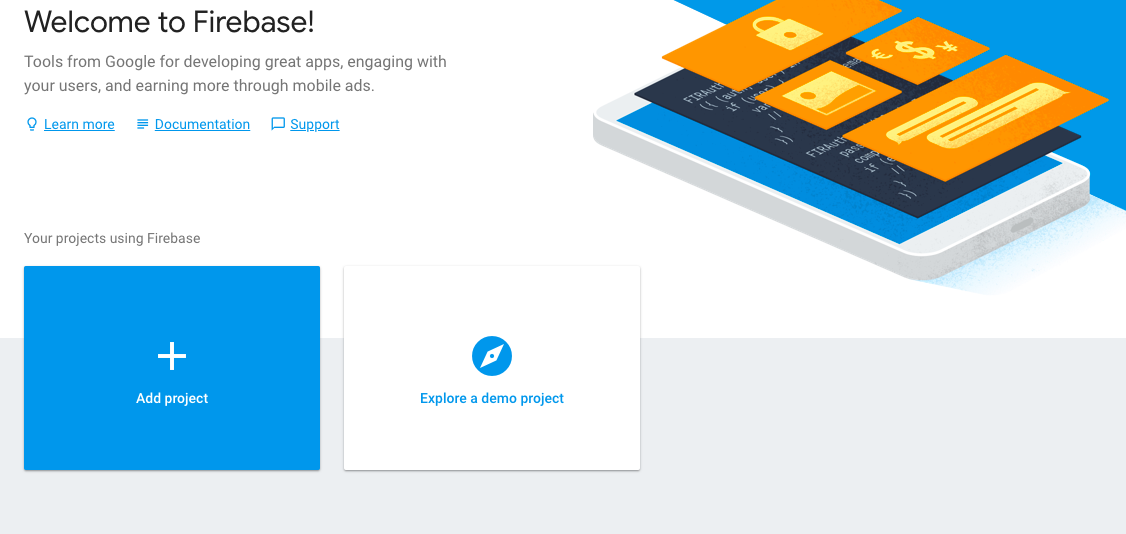
Login to firebase (https://console.firebase.google.com) using your google account.
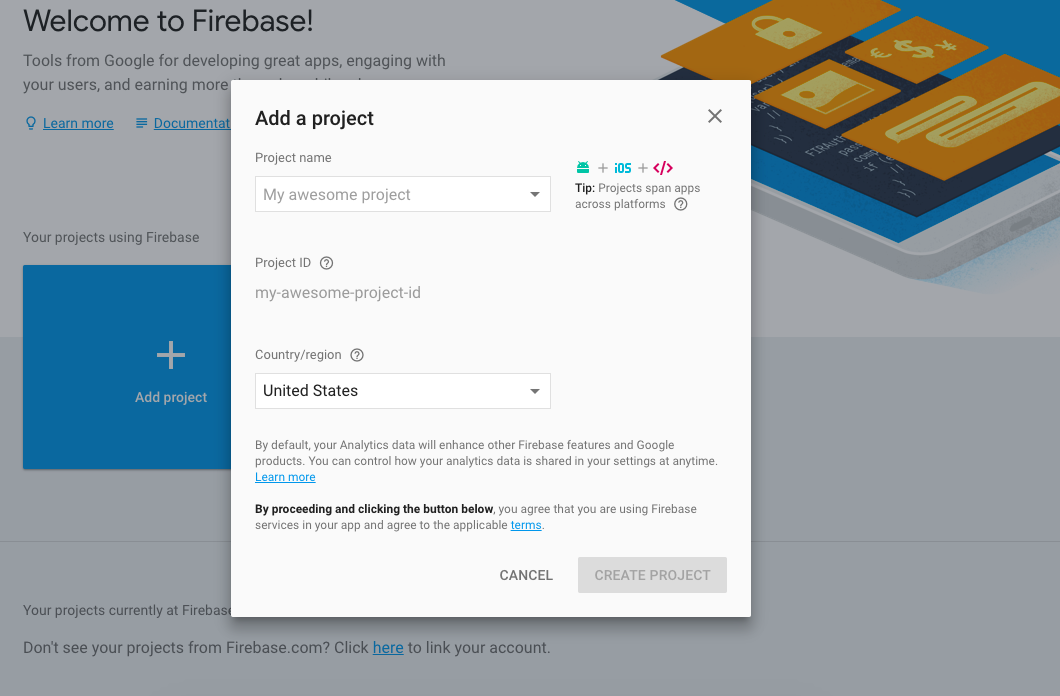
Click the ‘Add project’ button to create a new project in firebase.
Enter the name of your project and click ‘create project’.
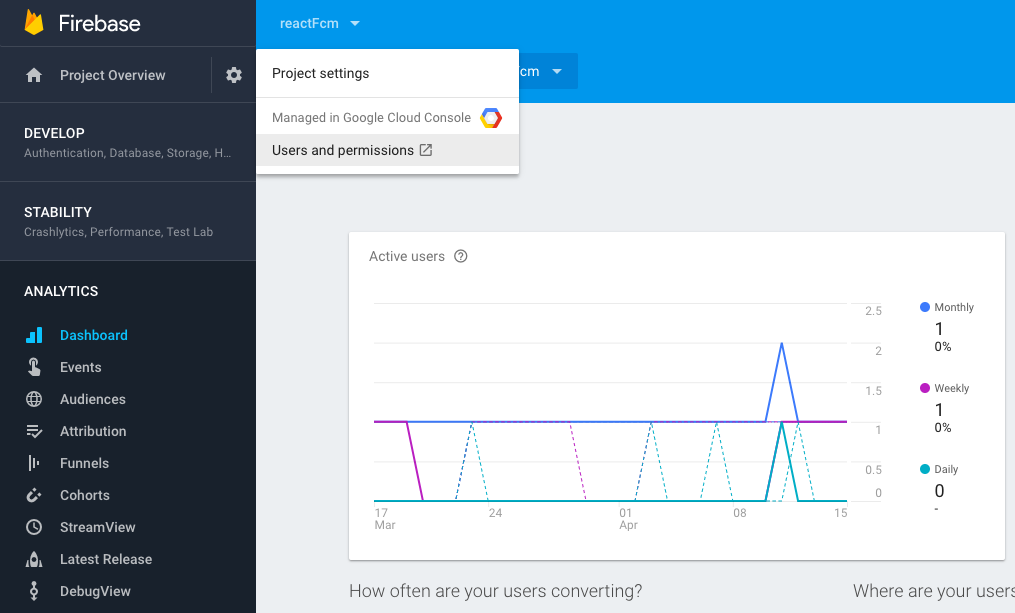
Go to project settings by clicking the gear icon next to menu called ‘project overview’
In general tab, click ‘add app’ button and create new app. In the form, make sure the package name you are using is the same from our project.

Click ‘register app’ and in next window, download the ‘google-services.json’ file to the directory ‘android/app’.
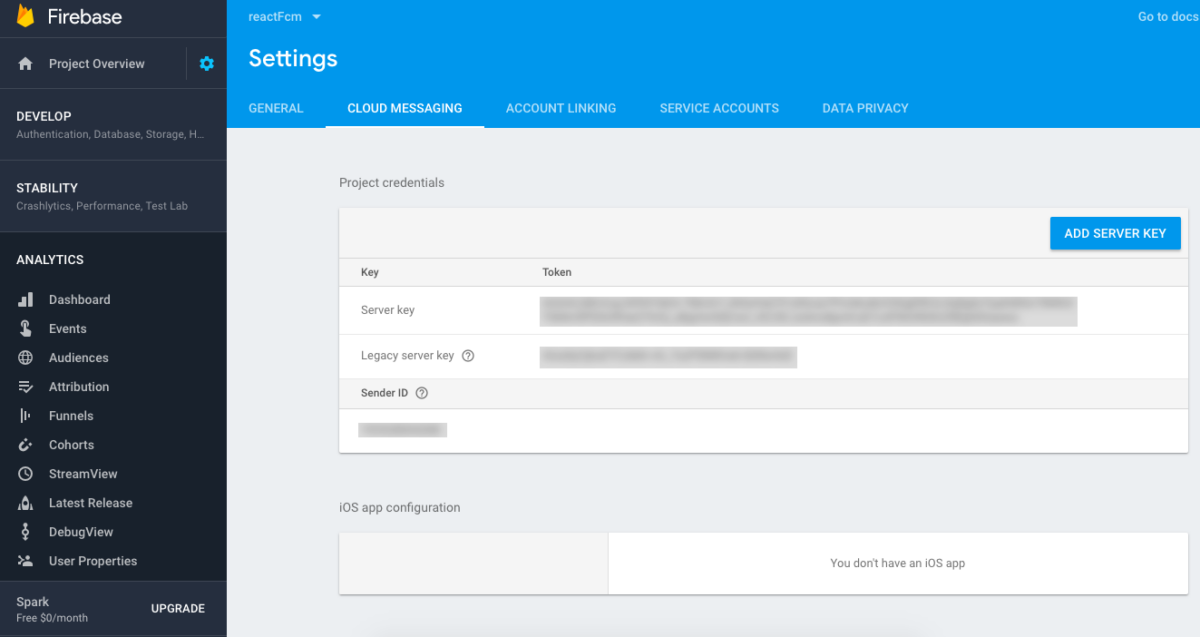
Now we have to get our sender id, which we can get from firebase console by going to ‘cloud messaging’ tab in the firebase console and copy the ‘Sender ID’.
After these steps, we are successfully completed integration of our FCM plugin to the app. Now we have to add functions to handle push notifications by adding following code to file src/app/app.component.ts
| 1 2 3 4 5 6 7 8 9 10 11 12 13 14 15 16 17 18 19 20 21 22 23 24 25 26 27 28 29 30 31 32 33 34 35 36 37 38 | initPushNotifications(){ const pushObject: PushObject = this.push.init(options); pushObject.on('notification').subscribe((notification: any) => { let notificationMessage = notification.message; if(notification.additionalData.picture != undefined){ notificationMessage = notificationMessage+'<img src="'+notification.additionalData.picture+'">'; } let alert = this.alertCtrl.create({ title: notification.title, message: notificationMessage, buttons: [ { text: 'Ignore', role: 'cancel', handler: () => {} }, { text: 'View', handler: () => { } } ] }); alert.present(); }); pushObject.on('registration'). subscribe((registration: any) =>{ console.log(registration.registrationId); //Save registration id to send notification to the app. } ); } |
Let’s build the app to run on device. First we have to add platform to the project.
ionic cordova platform add android
Now run the app in a real device to test push notification workingionic cordova run android
Use following php code to send a notification to device
| 1 2 3 4 5 6 7 8 9 10 11 12 13 14 15 16 17 18 19 20 21 22 23 24 25 26 27 28 29 30 31 32 33 34 35 36 37 38 39 | public function fcm($title, $message, $type, $notification_ids =array()){ define( 'API_ACCESS_KEY', 'Your_api_key'); $registrationIds = $notification_ids; $msg = array ( 'title' => $title, 'message' => $message, 'summaryText' => 'The internet is built on cat pictures', 'click_action' => 'FCM_PLUGIN_ACTIVITY', 'vibrate' => 1, 'sound' => 1, 'type' => $type ); $fields = array ( 'registration_ids' => $registrationIds, 'data' => $msg ); $headers = array ( 'Authorization: key=' . API_ACCESS_KEY, 'Content-Type: application/json' ); $ch = curl_init(); curl_setopt( $ch,CURLOPT_URL, 'https://fcm.googleapis.com/fcm/send' ); curl_setopt( $ch,CURLOPT_POST, true ); curl_setopt( $ch,CURLOPT_HTTPHEADER, $headers ); curl_setopt( $ch,CURLOPT_RETURNTRANSFER, true ); curl_setopt( $ch,CURLOPT_SSL_VERIFYPEER, false ); curl_setopt( $ch,CURLOPT_POSTFIELDS, json_encode( $fields ) ); $result = curl_exec($ch ); curl_close( $ch ); echo $result; } |
Replace ‘Your_api_key’ with ‘Legacy server key’ from firebase console – ‘cloud messaging’ tab.
$registrationIds are the token we generated and saved from app when registered to push notification.
You can refer the following link to check available functions and more details about the plugin
If you need any help with implementing push notifications in Ionic apps using Firebase Cloud Messaging please contact us


Related Articles