Greetings! I'm Aneesh Sreedharan, CEO of 2Hats Logic Solutions. At 2Hats Logic Solutions, we are dedicated to providing technical expertise and resolving your concerns in the world of technology. Our blog page serves as a resource where we share insights and experiences, offering valuable perspectives on your queries.
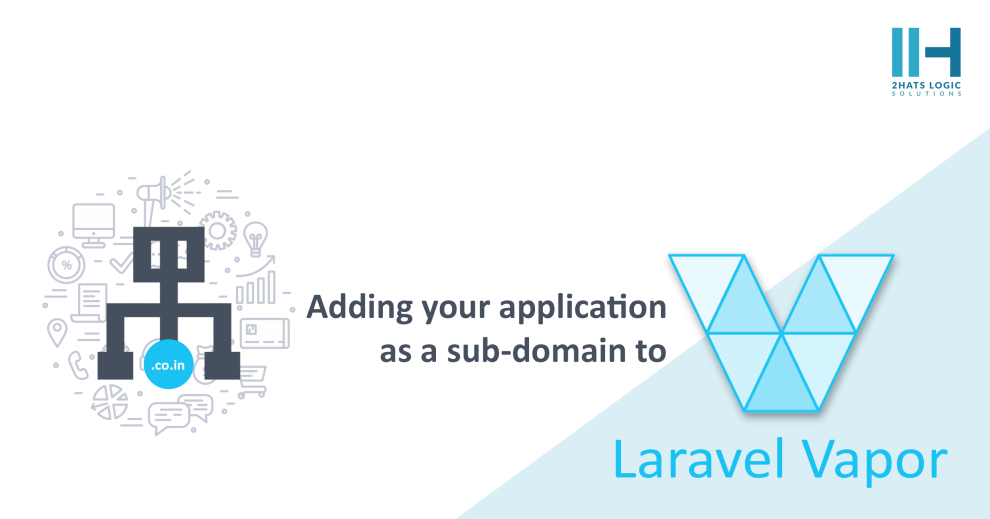
Recently I was trying to deploy a Laravel Application using Vapor. I wanted to deploy it to a subdomain. There were many projects deployed on several subdomains of our main domain. Since I wanted to deploy using Vapor which is basically serverless, there were basically no IP Addresses or URLs to point the domain to.
I went through the Vapor Documentation about the domain section, but it said nothing about how to point the subdomain. So I contacted the Laravel Vapor support about my problem. They responded that I needed to add the main Domain to Vapor and the subdomain will automatically be added and no problem will happen to my existing subdomains after doing this. After their response, I added the main domain from the Vapor UI. PS: Thanks for the great support from Mohamed Said.
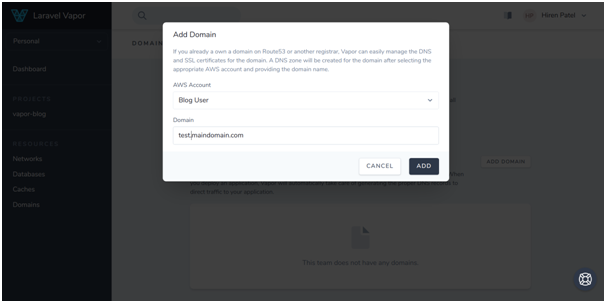
Vapor imported the DNS zone’s existing records into Vapor. After that, I created a certificate for the domain from Vapor UI. Then I added the sud domain to the vapor.yml file in my production environment like below.
[code lang=”js”]id: 4231
name: vapor-blog
domain: test.maindomain.com
environments:
production:
memory: 1024
cli-memory: 512
storage: vapor-blog
build:
– ‘composer install –no-dev’
– ‘php artisan event:cache’
I deployed the code and after a few minutes. The subdomain was automatically created and I could access my Laravel Vapor Application using the subdomain. Pretty easy but there was no documentation so I’m hoping to help anyone who faces the same problem.


Related Articles