Greetings! I'm Aneesh Sreedharan, CEO of 2Hats Logic Solutions. At 2Hats Logic Solutions, we are dedicated to providing technical expertise and resolving your concerns in the world of technology. Our blog page serves as a resource where we share insights and experiences, offering valuable perspectives on your queries.
Quick Summary
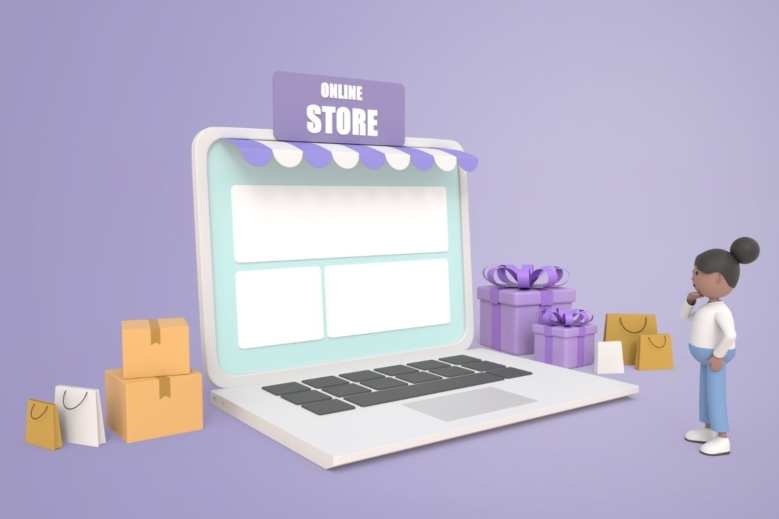
Launching a Shopify store involves signing up, choosing a theme, adding products, setting up payments and shipping, connecting a domain, and testing your store. The platform is beginner-friendly, requiring no coding skills, and offers extensive scalability through its app ecosystem.
Have you ever wanted to build an online store but got stuck thinking about all the technical stuff?
Most of our clients at 2HatsLogic felt the same way before they took their first step into e-commerce.
Building your online store doesn’t have to be complicated or expensive. With Shopify, even complete beginners can create a professional store without writing a single line of code.
In this guide, I’ll walk you through how to build an online store with Shopify from scratch, based on our experience helping dozens of businesses launch successful online shops.
Why Shopify is the Best Platform to Start With
Before diving into the how-to, let’s understand why Shopify stands out among e-commerce platforms.
Ease of use
Unlike platforms that require technical knowledge, Shopify’s interface feels intuitive even if you’ve never built a website before.
No coding needed
While knowing HTML or CSS can help with customizations, you can build a complete, professional-looking store without writing a single line of code.
Trusted by millions worldwide
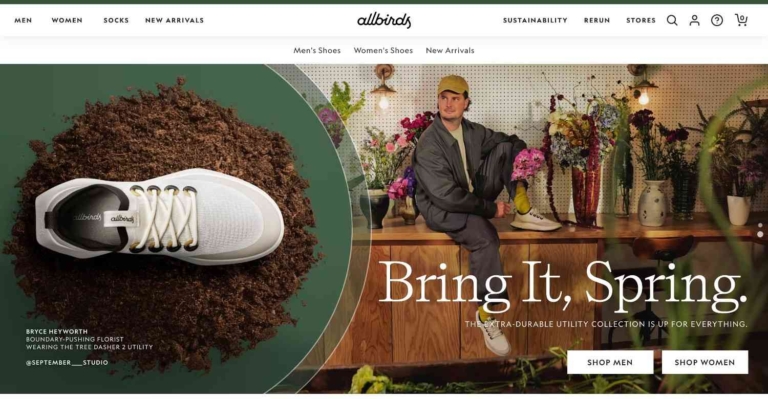
Over 2 million businesses run on Shopify, from small startups to giants like Gymshark and Allbirds. This widespread adoption means constant improvements and stability.
App ecosystem for growth
As your business grows, Shopify grows with you through its extensive app marketplace.
Launch your professional Shopify store in half the time with our expert setup service.
Step-by-Step: How to Start a Shopify Store
Let’s break down the process into manageable steps that anyone can follow.
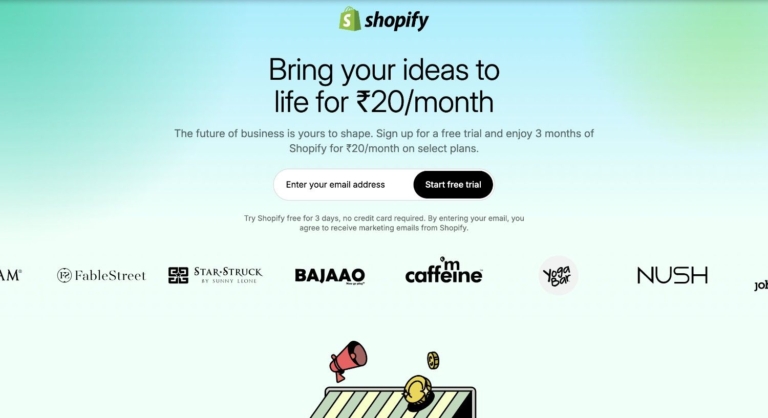
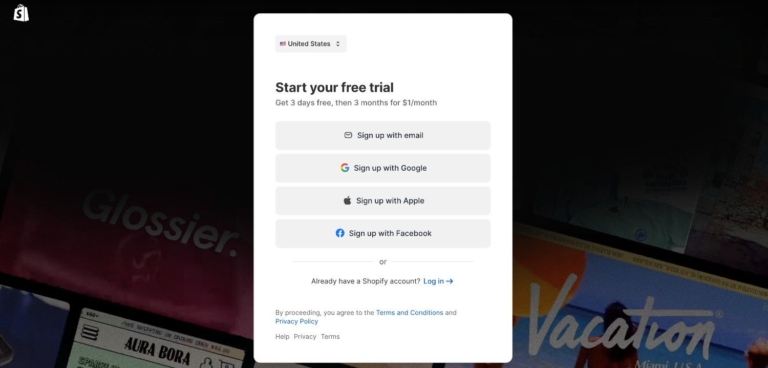
1. Sign Up on Shopify
Getting started with Shopify is straightforward:
- Go to Shopify.com and click “Start free trial“
- Enter your email address, password, and store name
- Answer a few questions about your business
Free trial and plan selection
Shopify offers a 14-day free trial with no credit card required. This gives you time to build your store before committing to a paid plan.
After your trial, plans start at $29/month for the Basic Shopify plan, which includes everything most beginners need.
Choosing your store name
Your store name becomes part of your default URL (yourstore.myshopify.com), so choose something:
- Related to your business
- Easy to remember
- Available as a domain name
Don’t worry if you’re not 100% sure, you can change this later.
2. Set Up Basic Store Info
Once you’re in, Shopify walks you through setting up:
Address, currency, and tax settings
- Enter your business address for payment processing
- Select your store’s currency (affects how prices display)
- Set up tax collection based on your location
Pro tip: If you’re unsure about tax settings, consult with an accountant who specializes in e-commerce businesses.
Add your brand logo and favicon
Your logo and favicon (the tiny icon in browser tabs) create the first impression of your brand:
- Go to “Online Store” → “Themes” → “Customize“
- Look for header settings to upload your logo
- Under theme settings, find “Favicon” to upload a square version of your logo
3. Choose and Customize a Theme
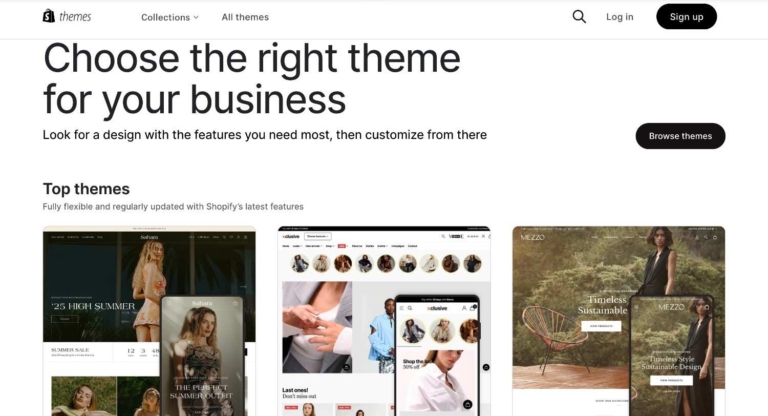
Your theme determines how your store looks and feels.
Free vs paid themes
Shopify offers:
- Free themes: Great for beginners with limited budgets
- Paid themes ($180-$350): More features and specialized designs for specific industries
Want a custom-designed Shopify store that stands out from competitors? Our design team can bring your brand vision to life.
Drag-and-drop customizations
Customizing your theme is where your store comes to life:
- Go to “Online Store” → “Themes” → “Customize“
- Use the sidebar menu to navigate between sections
- Change colors, fonts, and layouts with simple clicks
- Add, remove, or rearrange sections by dragging them
Responsive design and branding tips
Always check how your store looks on mobile devices (over 70% of Shopify traffic comes from mobile users).
For branding consistency:
- Use no more than 2-3 fonts
- Stick to a color palette of 3-5 colors
- Keep your product photography style consistent
One of our clients increased their conversion rate by 15% simply by ensuring their mobile experience matched the quality of their desktop site.
4. Add Products
Your products are the heart of your store.
Titles, descriptions, pricing, inventory

For each product:
- Go to “Products” → “Add product“
- Create a clear, benefit-focused title
- Write detailed descriptions (at least 300 words for important products)
- Set pricing (regular and compare-at prices for sales)
- Configure inventory tracking if needed
High-quality product images
Images sell products more than text ever will:
- Use at least 3-5 images per product
- Show products from multiple angles
- Include lifestyle images of products in use
- Maintain consistent dimensions
Organizing products into collections
Collections group similar products, making it easier for customers to find what they want:
- Go to “Products” → “Collections” → “Create collection“
- Choose between manual collections (you add products individually) or automatic collections (products added based on conditions you set)
- Add a compelling description and a collection image
Common collections include “New Arrivals,” “Best Sellers,” and seasonal groupings.
Pro tip: Create a “Featured Products” collection for your homepage and cycle products through it regularly to keep your store looking fresh.
5. Set Up Payments
Making it easy for customers to pay you is critical for success.
Shopify Payments setup
Shopify Payments (powered by Stripe) is the easiest option:
- Go to “Settings” → “Payments“
- Complete your business details
- Connect your bank account for deposits
PayPal, Razorpay, Stripe, etc.
Offering multiple payment methods increases conversion rates:
- In “Settings” → “Payments,” scroll to “Alternative payment methods“
- Enable PayPal (it’s pre-integrated)
- Add other payment providers relevant to your market
Understanding transaction fees
Be aware of the fee structure:
- Using Shopify Payments: Only credit card processing fees (starting at 2.9% + 30¢ per transaction)
- Using external payment providers: Additional 2% Shopify transaction fee
| Payment Provider | Transaction Fee | Additional Shopify Fee |
|---|---|---|
| Shopify Payments | 2.9% + 30¢ | None |
| PayPal | 2.9% + 30¢ | 2% |
| External Providers | Varies | 2% |
6. Configure Shipping & Taxes
Setting up proper shipping and taxes prevents surprises at checkout.
Zones and rates
- Go to “Settings” → “Shipping and delivery“
- Create shipping zones based on geographic areas you’ll ship to
- For each zone, set up shipping rates (flat rates, calculated rates, or free shipping)
Shipping profiles
If you sell products of different sizes or types:
- Create shipping profiles for product categories (e.g., “Heavy items,” “Digital products”)
- Assign different shipping rates to each profile
Tax rules by country
- Go to “Settings” → “Taxes“
- Shopify automatically sets up tax regions based on your location
- Adjust tax rates if needed or use Shopify Tax (US only) for automatic calculations
At 2HatsLogic, we often see beginners underprice shipping, cutting into their margins. Be realistic about your shipping costs!
7. Connect a Domain
A professional domain name builds trust with customers.
Buy a domain on Shopify or connect an existing one
Option 1: Purchase through Shopify
- Go to “Online Store” → “Domains” → “Buy new domain”
- Search for and purchase your domain (typically $14-$20/year)
Option 2: Connect existing domain
- Go to “Online Store” → “Domains” → “Connect existing domain”
- Follow instructions to update DNS settings at your domain provider
SSL setup and redirect tips
Shopify automatically provides SSL certificates (the padlock in browsers) for all stores.
For domain redirection:
- Decide whether to use “www” or not (e.g., www.yourstore.com vs. yourstore.com)
- Set up redirects so both versions lead to the same place
- Update your primary domain in “Online Store” → “Domains”
8. Test & Launch Your Store
Before going live, thoroughly test your store.
Test checkout and order flow
- Use Shopify’s test mode to place orders without actual payments
- Go through the entire customer journey from homepage to confirmation
- Test on multiple devices and browsers
- Ask friends or family for feedback
Soft-launch strategy
Consider a soft launch before a full public announcement:
- Share with a small group of supporters
- Offer a special discount code
- Gather feedback and make adjustments
- Fix any issues before full marketing efforts
Go live with a launch checklist
Before your grand opening, check that you have:
- Legal pages (Privacy Policy, Terms of Service, Refund Policy)
- Contact information and About Us page
- Working payment methods
- Configured email notifications
- Removed any “Coming Soon” messaging
After Launch: How to Run a Shopify Store
Launching is just the beginning. Now comes the work of operating your store.
Fulfilling orders
When orders come in:
- You’ll receive email notifications
- Go to “Orders” in your Shopify admin
- Process orders by preparing packing slips and shipping labels
- Mark orders as fulfilled when shipped
Customer support setup
Provide excellent support:
- Set up a contact form on your site
- Consider adding a live chat app like Tawk.to (free) or Gorgias
- Create an FAQ page for common questions
- Establish clear response time expectations
Inventory management basics
Stay on top of stock:
- Set up low stock notifications in “Settings” → “Notifications”
- Regularly review inventory reports
- Use the Shopify mobile app to manage on the go
Use of apps like Oberlo, Klaviyo, PageFly
Extend your store’s functionality:
- Oberlo: For dropshipping products from suppliers
- Klaviyo: For email marketing automation
- PageFly: For advanced page building and customization
At 2HatsLogic, we advise new store owners to start with minimal apps and add only what’s necessary for their specific business model.
Pro tip: Before installing an app, ask yourself: “Will this directly help me make sales or save significant time?” If not, you probably don’t need it yet.
Struggling to manage your store while growing your business?
Bonus: Tips for Growing Your Shopify Store
Once your store is running smoothly, focus on growth.
SEO tips for product pages
Optimize for search engines:
- Include keywords in product titles and descriptions
- Write unique descriptions (not copied from manufacturers)
- Add alt text to all images
- Create a logical site structure with collections
Abandoned cart recovery
Recover potentially lost sales:
- Enable abandoned checkout emails in “Settings” → “Checkout“
- Customize the email message and timing
- Consider offering a small discount to encourage completion
Email marketing
Build relationships with customers:
- Install an email marketing app like Klaviyo or Omnisend
- Create a welcome series for new subscribers
- Segment your list based on purchase behavior
- Send regular updates about new products and promotions
Paid ads integration
When you’re ready for paid advertising:
- Install the Facebook pixel for Meta ads
- Set up Google Analytics and Google Ads conversion tracking
- Start with small daily budgets to test what works
- Focus on retargeting before cold audience acquisition
Common Mistakes to Avoid When Starting
Learn from others’ missteps to save time and money.
Ignoring mobile optimization
Always check and optimize for mobile users, who often make up the majority of traffic.
Too many apps
App overload can slow your site and complicate management. Start with the essentials only.
No product-market fit
Validate demand for your products before investing heavily in inventory or marketing.
Skipping legal pages
Protect yourself by including:
- Privacy Policy
- Terms of Service
- Refund Policy
- Shipping Information
We’ve seen stores temporarily shut down due to compliance issues that could have been easily avoided
Conclusion
The key to building an online store is simple: focus on the customer experience, and continuously improve based on real data and feedback.
Remember that every successful e-commerce brand started with a single product and a simple store.
The difference between those who succeed and those who don’t often comes down to persistence and willingness to adapt.
At 2HatsLogic, we’ve seen beginners transform into e-commerce experts through hands-on experience with their Shopify stores.
The platform grows with you, offering more advanced features as your skills and business develop.
Let 2Hats help you launch your Shopify store professionally
The team at 2HatsLogic specializes in helping entrepreneurs build and optimize Shopify stores that convert. Contact us today for a free consultation on how to make your e-commerce vision a reality.
FAQ
Is Shopify good for beginners?
Yes, Shopify is specifically designed to be user-friendly for beginners while still offering advanced features as you grow.
Can I build a store without products?
Absolutely. You can start with a "coming soon" page, collect email addresses, and add products later. Alternatively, you can explore dropshipping or print-on-demand models where you don't hold inventory.
Can I do it without a designer or developer?
Yes! Shopify themes are designed to look professional out of the box, and the drag-and-drop editor requires no technical skills. For specific customizations, you can always hire help later.


Related Articles